| Heavy Duty Roofrack |
|
| |
|
|
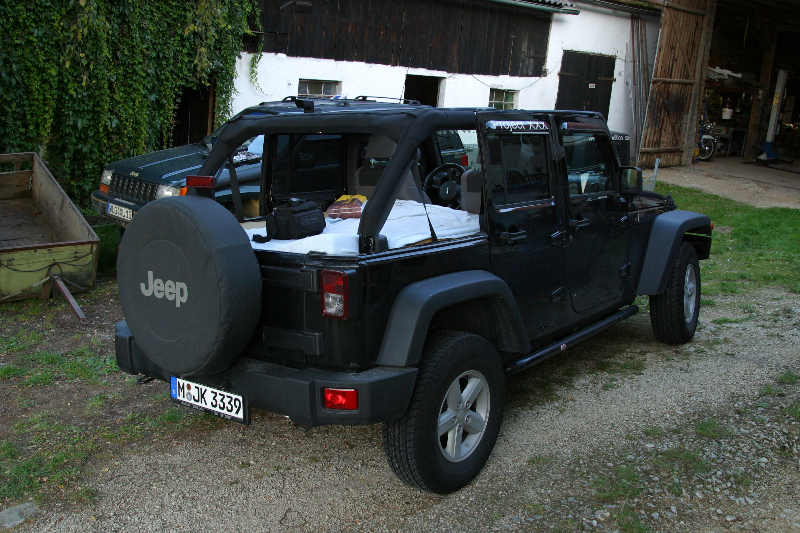
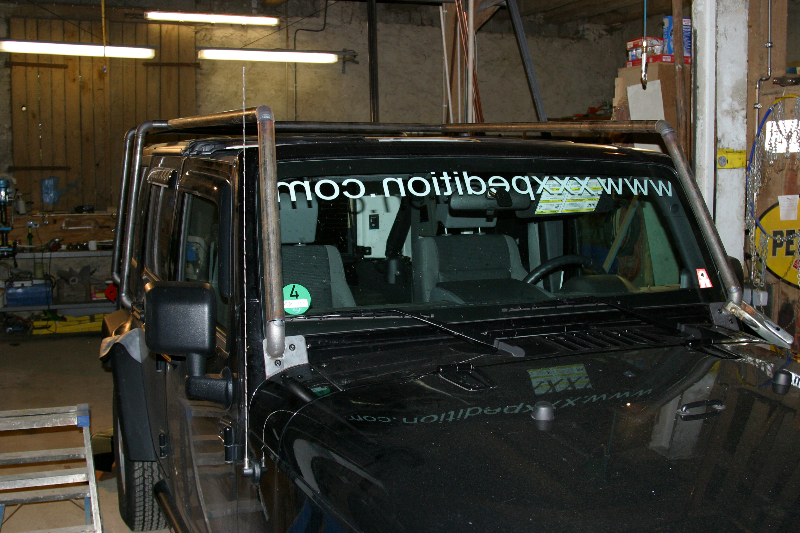
An expedition vehicle needs
a roofrack...
Not because you see it on all the other rigs or because it looks cool.
The latter is just a nice side effect :-) But we just can't get enough
storage space for our trips. Everything available on the market doesn't
really tickle my fancy, so I decided to design my own and build it myself
- well, not really all by myself: I relied on a professional welder for
strength and durability.
|
|
|
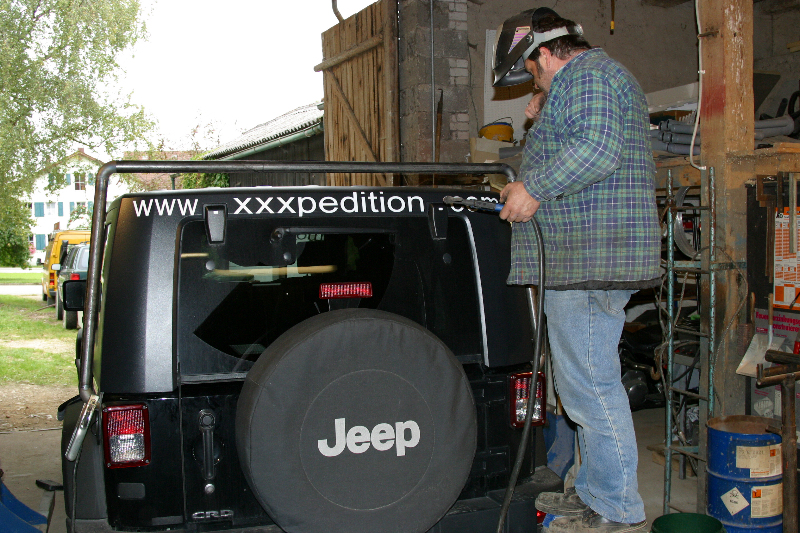
So, I want to say my special
thanks to Bernd right here, who welds for a living and lays the nicest
welds I've seen.
I drove to his place on a Friday night after work and we started right
when I got there at about 18:00. As a first step, we removed the top.
In order for the load to be distributed evenly, my approach was to build
two rack supports which sit under the hardtop, just where the top meets
the body.
|
|
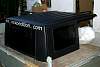
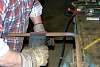
We used two strong steel angles
as the supports.
(Awesome steel saw - nothing like a really well equipped shop to do all
your work in!!!) |
|
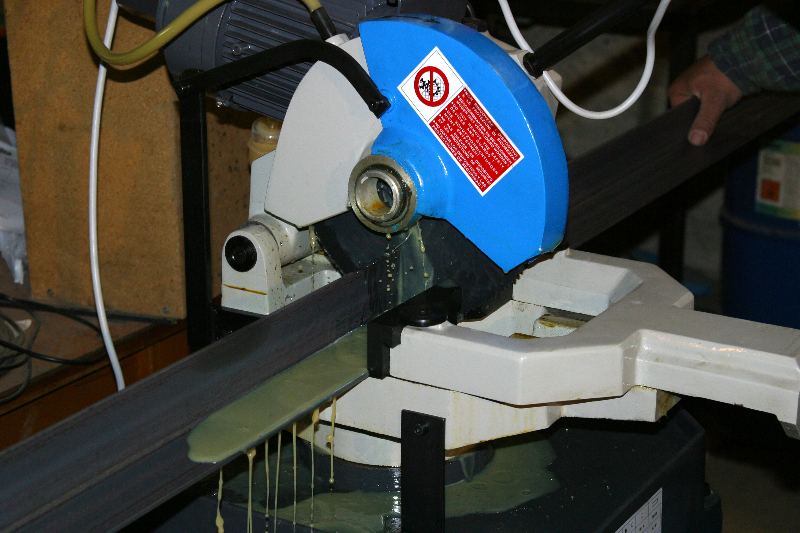
| We cut, flexed and slotted the
angle to form it to the vehicle. It's amazing that the new Wrangler doesn't
seem to have straight edges anymore... |
|
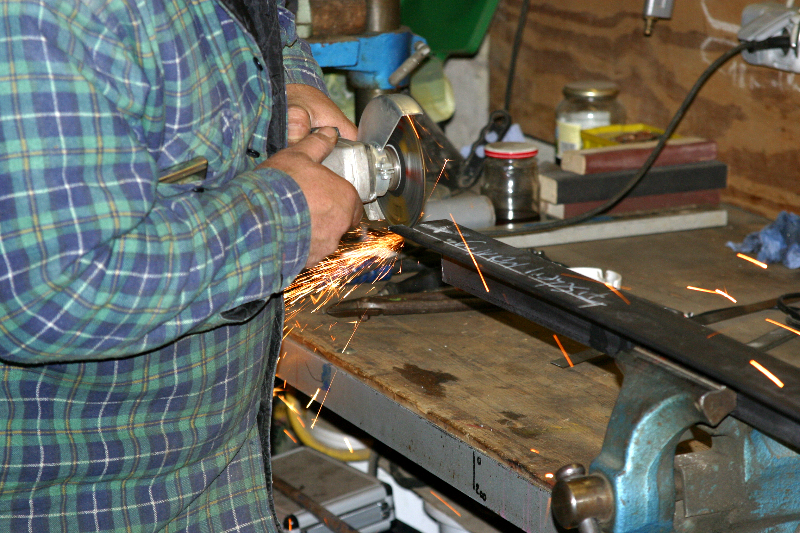
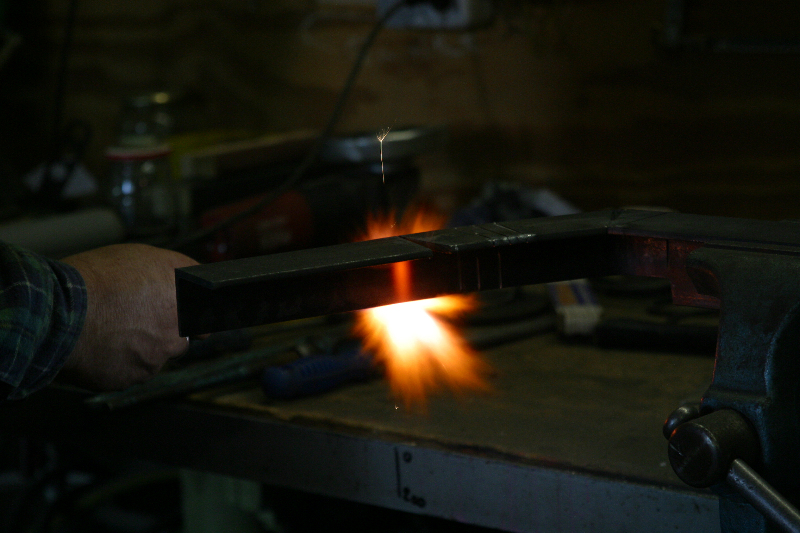
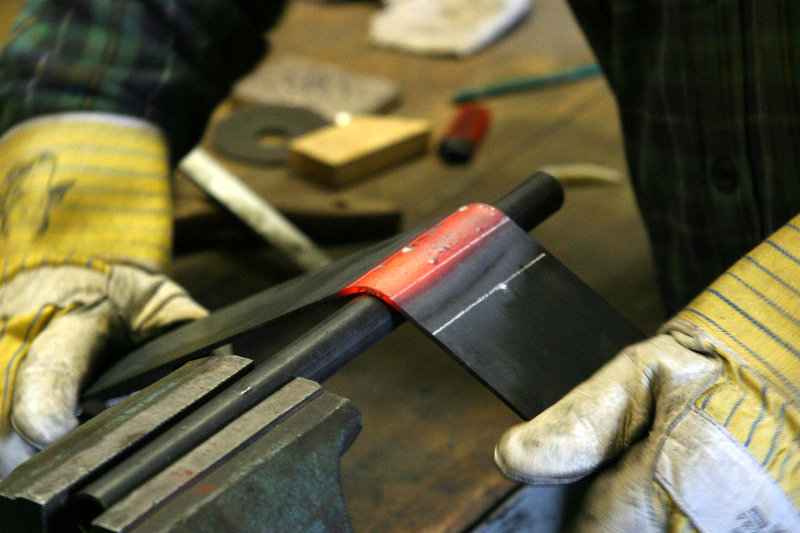
| The angle was heated and bent
to recreat the exact shape of the vehicle body and the slots were welded
to hold the form. |
|
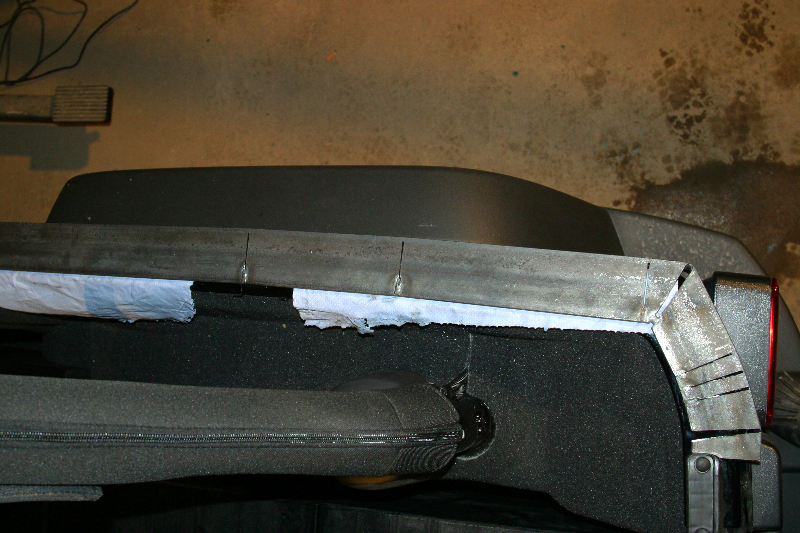
| Here you see the formed angle
sitting on the rear of the vehicle. The tag-welds hold the curvature. |
|
|
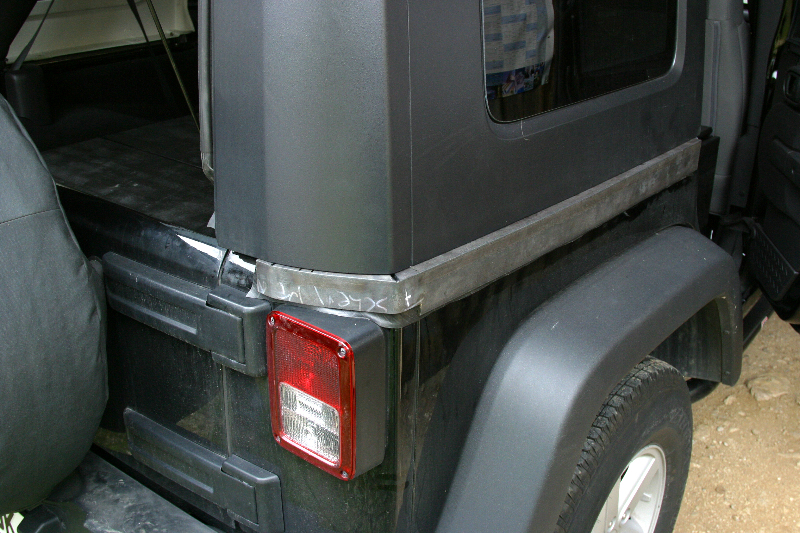
It was Saturday around noon
when we finished the supports for both sides and we test fitted the hardtop.
BUMMER!!! - the hardtop has little 'skirts' on the edges and sat on top
of the angles instead of fitting over them. The body of the truck bends
inward just where the roof connects, and we had to abandon this approach.
|
|
| The new idea was to use little
angles just where the rack would sit. We used 3mm flat iron, 4 inches wide. |
|
| We heated and bent it to mimic
the angles of the body (vertically). |
|
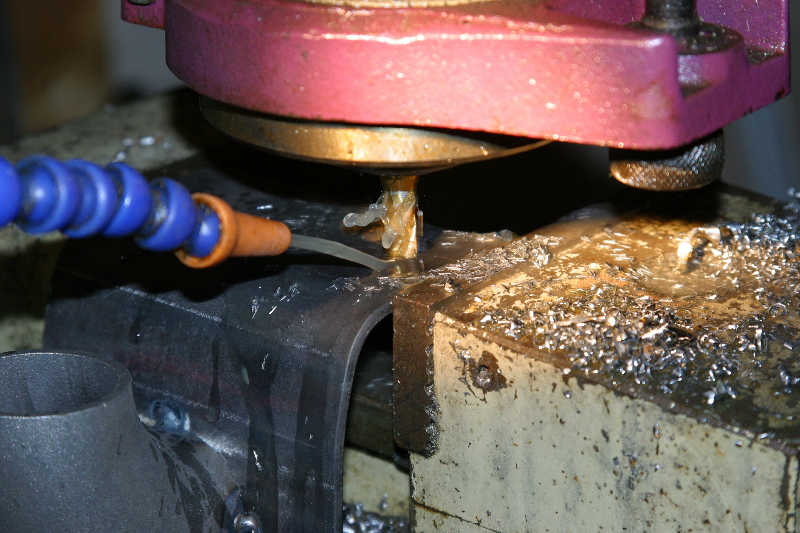
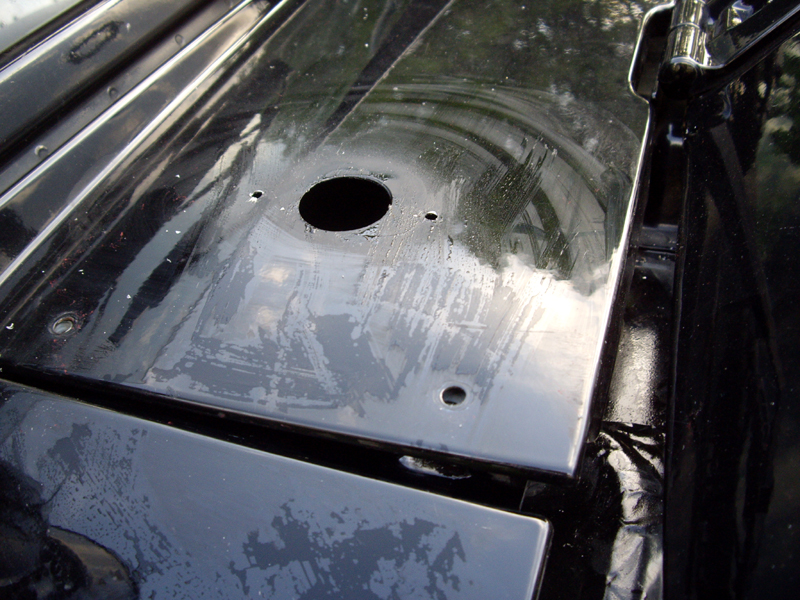
| Then we placed them on the rig
and marked the holes to be drilled so that these angles could also be bolted
onto the body, and then drilled the holes. |
 |
|
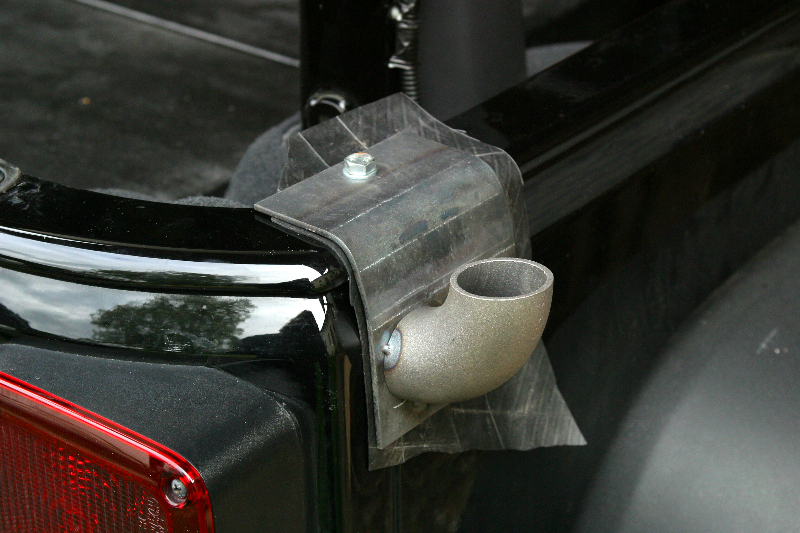
The tube corners were welded
in place and the four supports were bolted to the truck. I used old truck
tire tubes as padding between metal and body so the vehicle paint would
not be damaged.
|
|
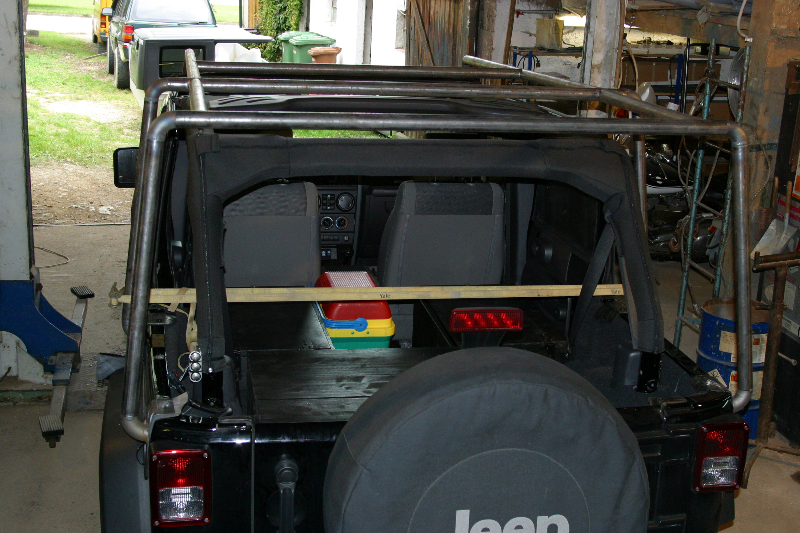
| Then we fitted the
top again and this time it did work. The top was bolted on through the support
angles. Then we started the build-up and tag-welded the vertical tubes on
the corners. |
|
| From there we created the two
hoops, taking care to get all the angles right. The lines are not perfectly
vertical and we followed the angles of the top to make it look right. |
|
| Then we fitted the front hoop
which sits right behind the rear doors. |
|
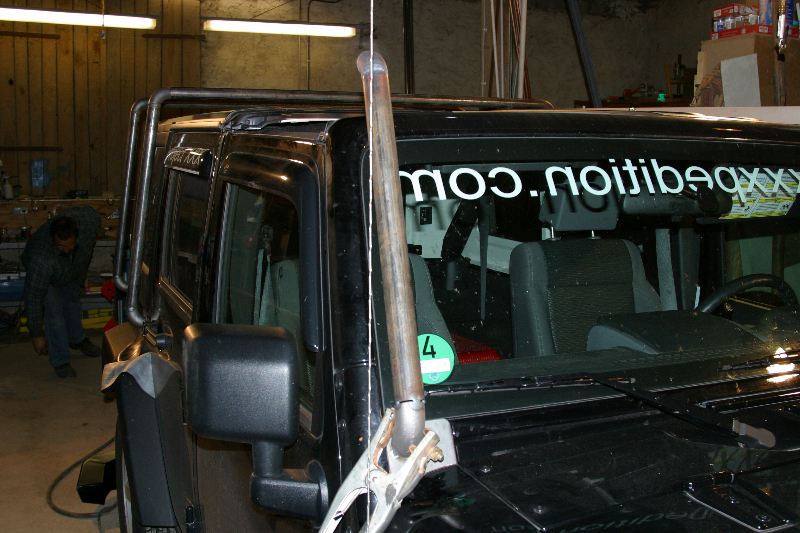
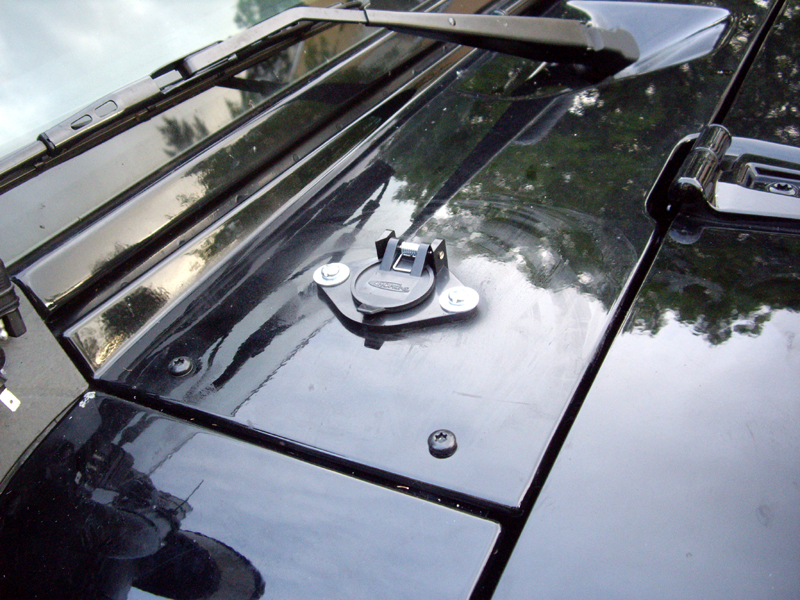
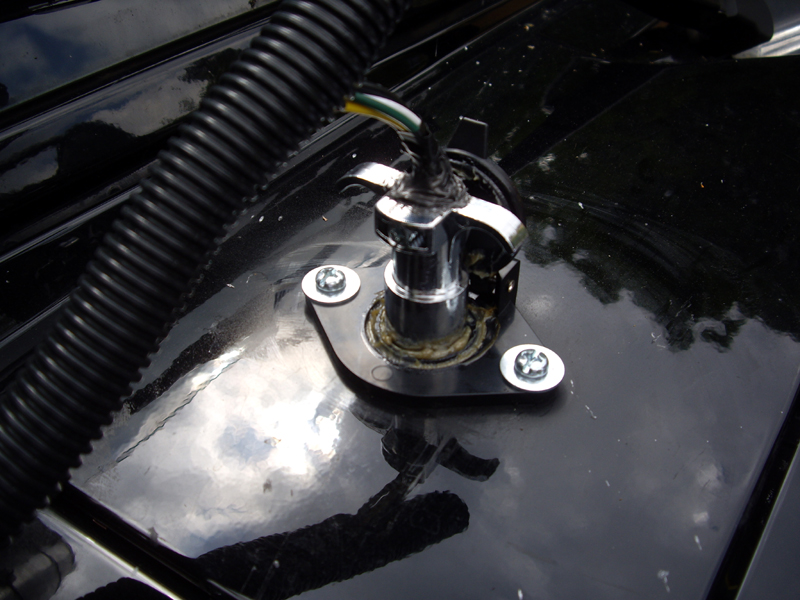
| Next the front supports were
placed. We cut a plate to fit the stock bolt pattern of the windshield frame.
Then we attached the tubes, again minding all angles. |
|
| Here both front supports can
be seen leaning inward in the same angle as the windshield does. |
|
| From the point where the front
support ends, we attached a tube straight back to the first hoop and mirrored
the same on the other side. |
|
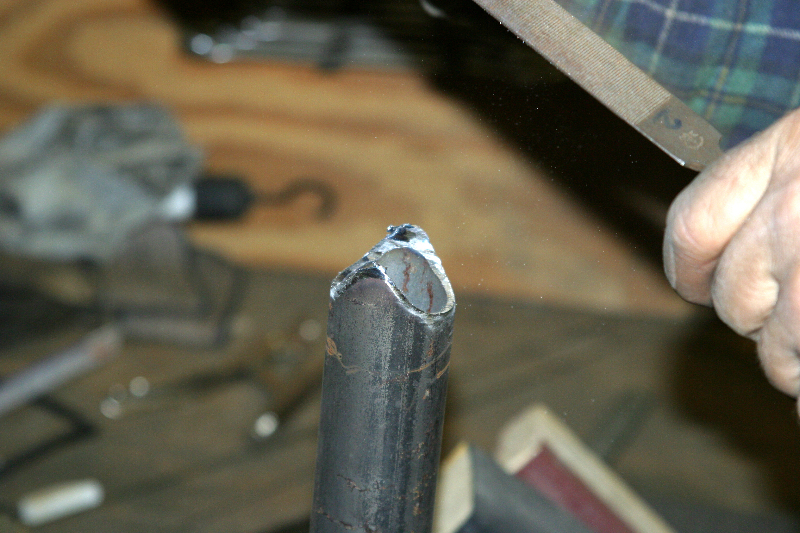
| Bernd cut and filed all the
tubes to make a perfect connection between each tube. |
|
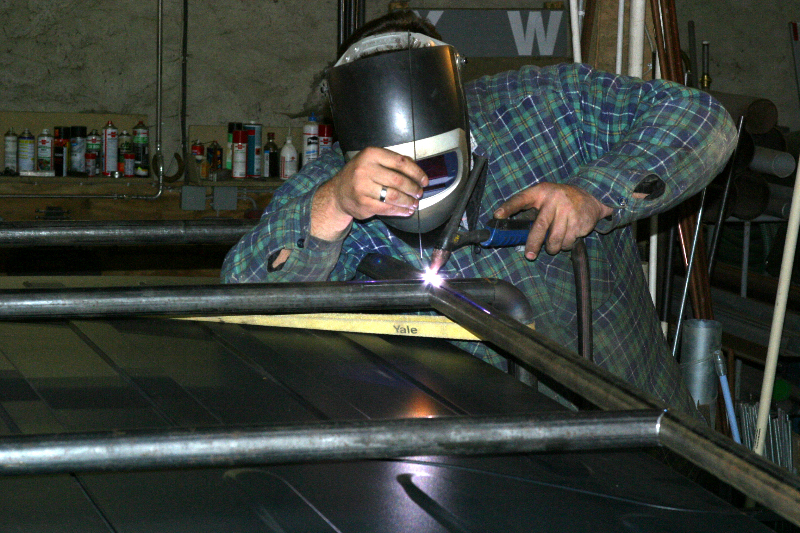
| When all connections were tag-welded,
we aligned all segments of the rack to make for perfect lines and distances.
We made sure that the roofrack was exactly mirrored along the center line
of the Jeep. After it was all set up, the rack was welded for the most part... |
|
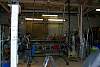
| The top was again removed and
we took off the rack for better welding angles on the otherwise hard-to-get-to
areas. |
 |
|
It was nice to have the structure
sitting on the floor and see it fully.
|
|
| With a hoist we
moved it in all kinds of directions to make welding easier. |
|
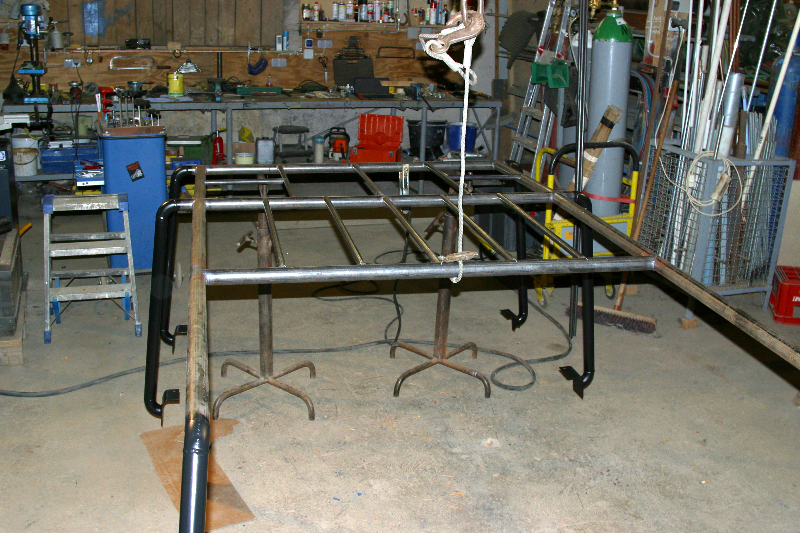
| Then we added the interior tubes
to create a 'rack floor'. Once finished, the entire rack was painted black. |
|
|
Temporarily we added a couple
of lights to round off the look....
|
|
After proving the structural
integrity of the roofrack we added some components to make it more usable.
As a trademark from the last truck I wanted to continue the 'light boxes'
on the rack which will protect the additional Hellas.
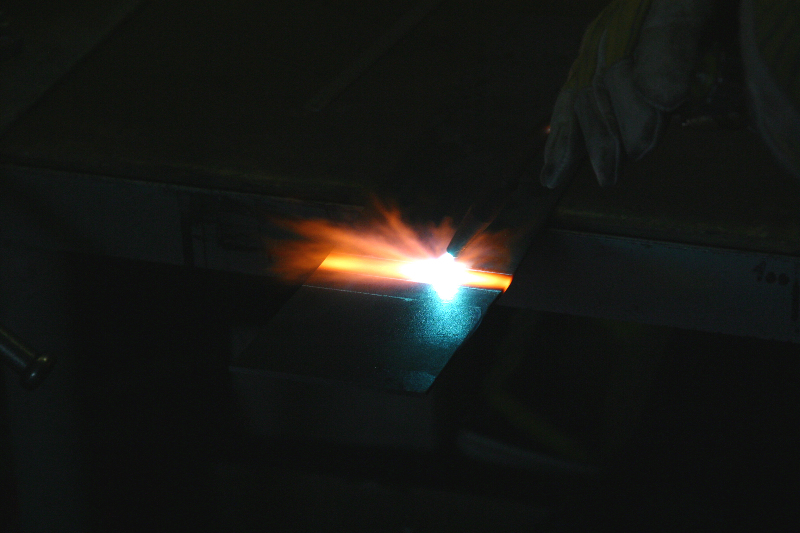
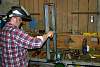
We heated the metal to be able to bend it.
|
|
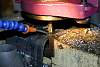
| When the metal was nice and
glowing orange we bent it over a pipe to get a clean radius. |
 |
|
For the rear light box all
four corners were bent and then welded in the middle of the bottom.
For the front ones we welded a flat piece on the roofrack crossmember
and then added the three-side frame on top.
|
|
| The spare cans needed
a secure place as well, so we built a carrier that would fit two cans in
a row. |
|
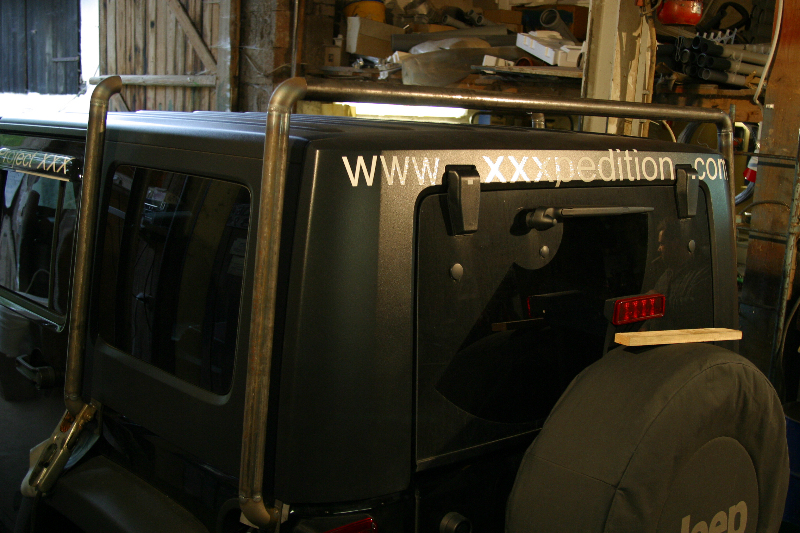
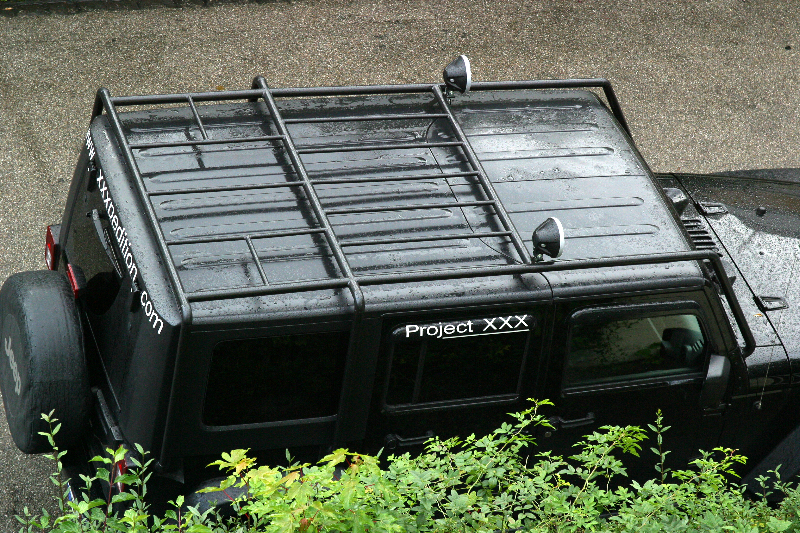
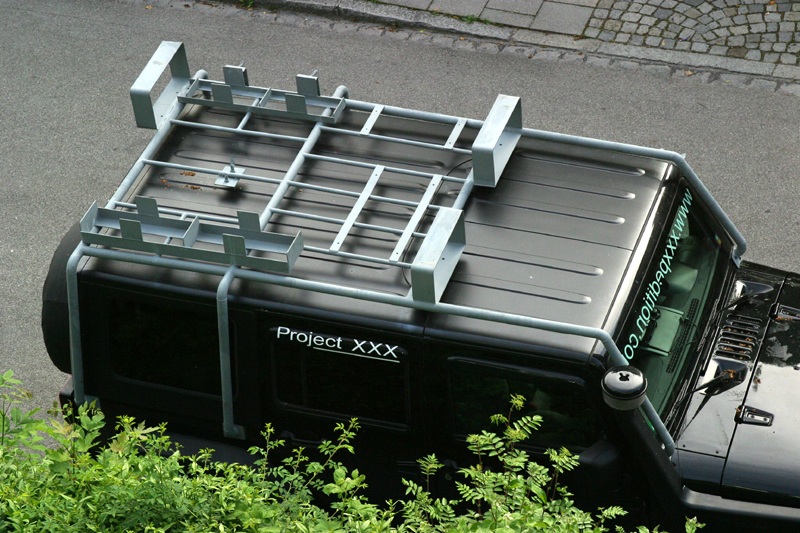
| And that's what the rack looks
like after another day of manufacturing and after having it bead blasted
and primered in a saltwater resistant paint... |
|
|
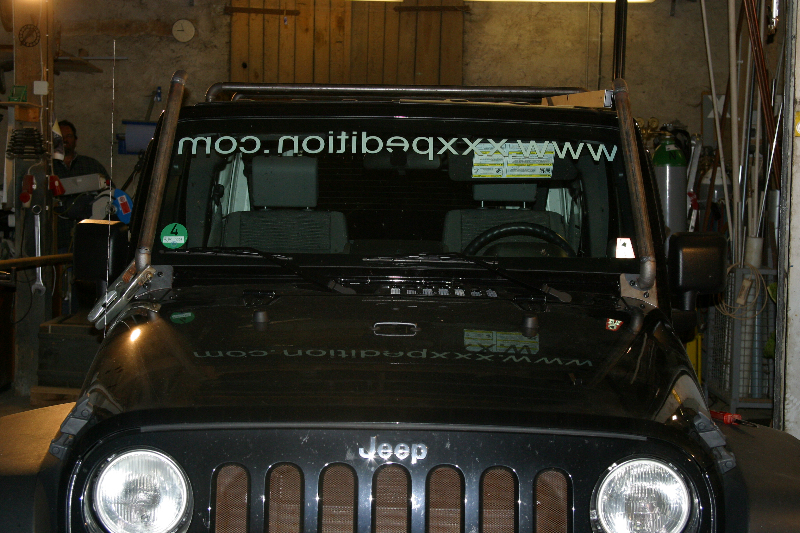
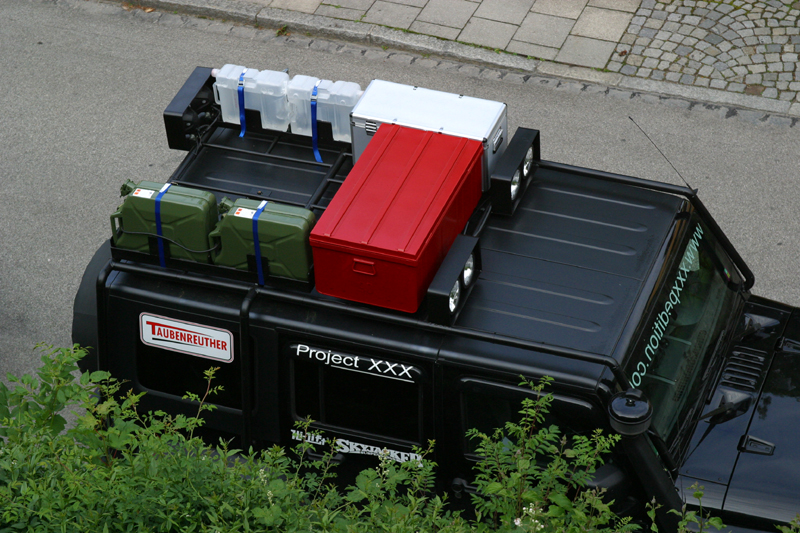
And that's the final pic, without
the second spare tire, though.
(More pics of the finished rack in the gallery...)
|
|